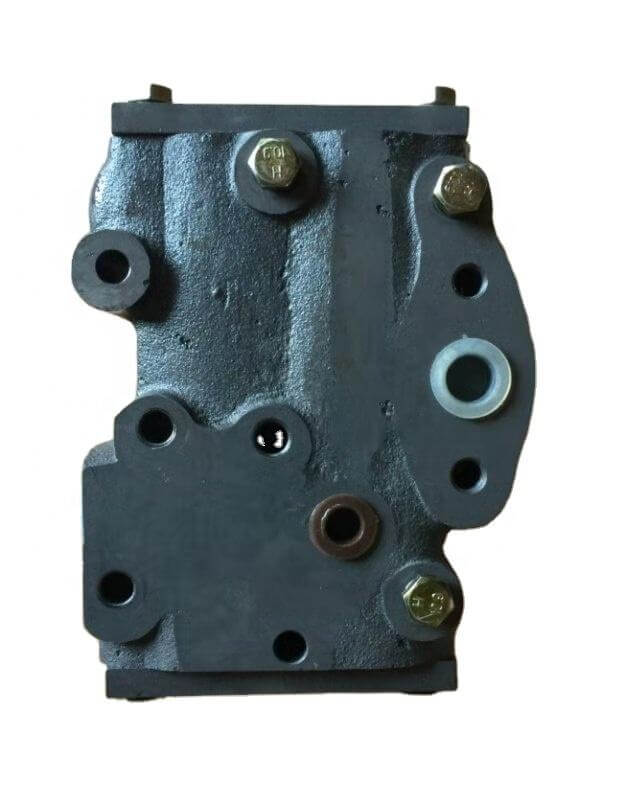
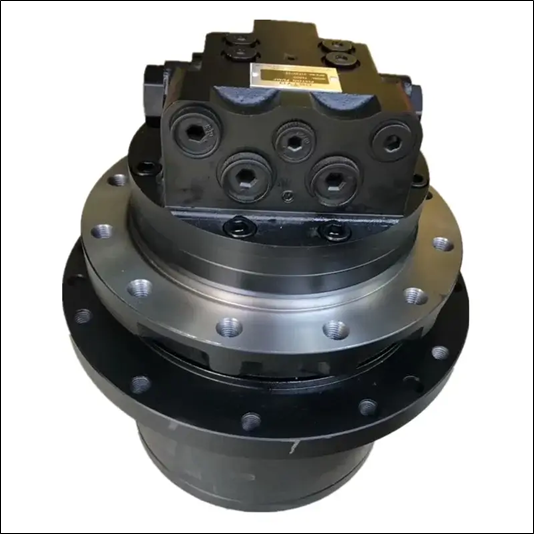
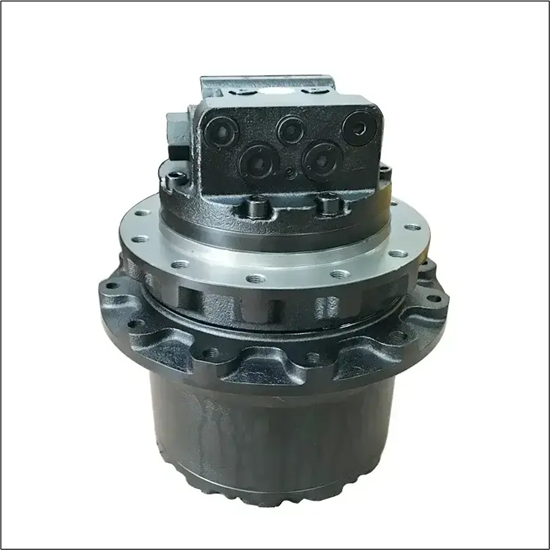
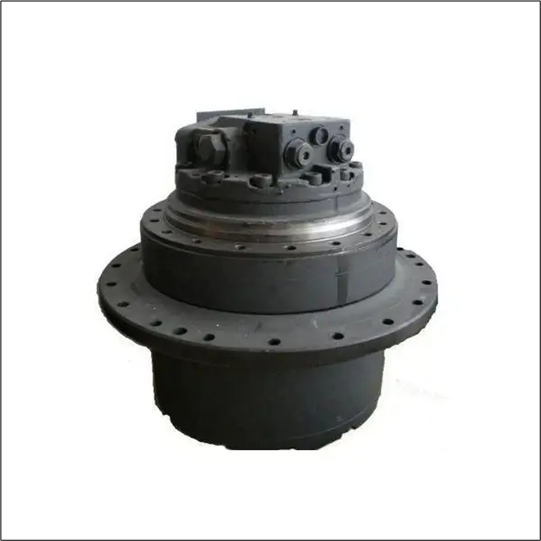
In excavator maintenance, the majority of owners and operators have difficulty accomplishing one mission: removing the final drive motor excavator. Whether you're in Sydney, NSW, Los Angeles, CA, or Calgary, AB, knowing how to remove and maintain your final drive motor excavator safely is the key to ensuring your machine will run optimally.
In this blog, you will dissect the process of how to remove the final drive from an excavator into simple, easy-to-understand steps. Not only will this help you with a smoother removal, but it will also walk you through the maintenance needed to get your excavator working efficiently. Let's get started!
Why Would You Need to Remove the Final Drive Motor Excavator?
Before we dive into the process of demounting the final drive motor excavator, let's know why you would need to do it. The final drive motor is tasked with transmitting power from the engine to the tracks of your excavator, and through constant use, it gets worn out, needs repairs, or needs to be replaced with oil.
The most common reasons to demount the final drive motor excavator are:
● Repair or replacement: Replace the motor if it is damaged or worn.
● Maintenance: You may need to replace the final drive oil excavator or clean the parts for maximum performance.
● Inspection: Through regular checks, you identify early signs of damage before actual problems arise.
Now that we know why removal might be required let's learn how to do it safely.
Tools You'll Need
Before you begin, have the following tools at hand:
● Wrenches and ratchets (for bolt removal)
● Hydraulic jack or hoist (to lift the excavator safely)
● Safety gloves and goggles (for safety)
● Drain pan (to collect the final drive oil excavator)
● Torque wrench (for reassembling the final drive motor)
Having all the tools you need will make it easier and safer. Let's begin now!
Step-by-Step Guide on How to Remove the Final Drive from an Excavator
Step 1: Safety First
First, park your excavator on level ground. Engage the parking brake and use wheel chocks to prevent it from moving. Then, turn off the engine and isolate the battery so that the machine cannot be started by mistake during maintenance. Don't skip this step—it's very important!
Step 2: Raise the Excavator
Lifting the excavator above the ground level will provide access to the final drive motor excavator. A hydraulic jack can lift the machine and have the excavator placed on firm footing using jack stands. Lifting the machine will provide you with the height that will enable you to work beneath it thus, do it very slowly and carefully.
Step 3: Drain the Final Drive Oil
Once the excavator is raised, it's time to drain the final drive oil excavator. Position a drain pan underneath the final drive motor to collect any oil that comes out. Locate and remove the drain plug. Let the oil fully drain out before proceeding with the removal of the final drive motor excavator.
This is a big step. Draining the oil correctly will prevent spills and a mess throughout the rest of the process.
Step 4: Remove the Hydraulic Lines and Wiring
Now, you will need to remove the hydraulic lines and electrical wiring attached to the final drive motor excavator. Loosen hydraulic hoses using wrenches and slowly remove them. There will be some leftover hydraulic fluid that will spill, so have something nearby to catch it.
Be sure to mark any wires or hoses that you disconnect so you can reconnect them when you reinstall the motor.
Step 5: Remove the Mounting Bolts
Apart from the hydraulic wires and hoses, the next step is to remove the mounting bolts holding the final drive motor excavator on the machine. These bolts are generally big, and they require a lot of torque to loosen. Use a wrench or impact wrench to remove every bolt and ensure that they are safely aside for their eventual reattachment.
Take your time here, as rushing could cause damage to the bolts or surrounding parts.
Step 6: Remove the Final Drive Motor
At this point, the final drive motor excavator should be ready to come off. However, these motors can be heavy and difficult to remove without proper support. If you’re working alone, it’s a good idea to use a hoist or lifting device to lower the motor gently.
Gently remove the final drive motor excavator from its enclosure and the machine, being careful not to break the surrounding parts.
Step 7: Inspect and Maintain the Final Drive
Once the last drive motor excavator has been removed, check it for wear. Check for busted gears, seals, or other components that need to be replaced. If all maintenance is done, service the motor and replace the final drive oil excavator.

Routine maintenance and inspection will have your excavator running like a well-oiled clock for years to come.
Step 8: Reinstall the Final Drive Motor
If you’re replacing the motor or performing maintenance, you’ll need to reinstall the final drive motor excavator. Place the motor back into its housing, secure it with the mounting bolts, and reconnect the hydraulic lines and wiring. Be sure to torque the bolts correctly and refill the final drive with a fresh final drive oil excavator before testing the motor.
Conclusion
Removing the last drive motor excavator does not have to be a scary ordeal. With this step-by-step guide, you can easily and safely remove and service the final drive on your excavator. Whether it's for regular maintenance or a malfunctioning motor replacement, being prepared and knowing what to do is the secret to doing the job correctly.
If you are in need of quality parts such as final drive motors or final drive oil excavators, then Imara Engineering Supplies is in the right direction for you. Owing to our numerous excavator parts, we provide you with the best at affordable prices.
Contact Imara Engineering Supplies today and keep your excavator in its best condition!

