When an excavator develops an unexplained hydraulic fault, a function that is slow, unresponsive, or behaving erratically, the solenoid valve is one of the first components that should be on your diagnosis list.
But it is also one of the most misdiagnosed components on the machine.
Because solenoid valve symptoms overlap with pump faults, spool wear, and electrical supply issues, operators frequently replace the wrong component or replace the full valve assembly when only the coil needs attention.
This guide walks through exactly what a hydraulic solenoid valve does, the five symptoms that indicate it is failing, how to test the coil with a multimeter before ordering anything, and how to confirm the correct replacement specification for your machine.
For solenoid valve replacements compatible with major excavator brands, visit our excavator solenoid valves page.
What Does a Hydraulic Solenoid Valve Do?
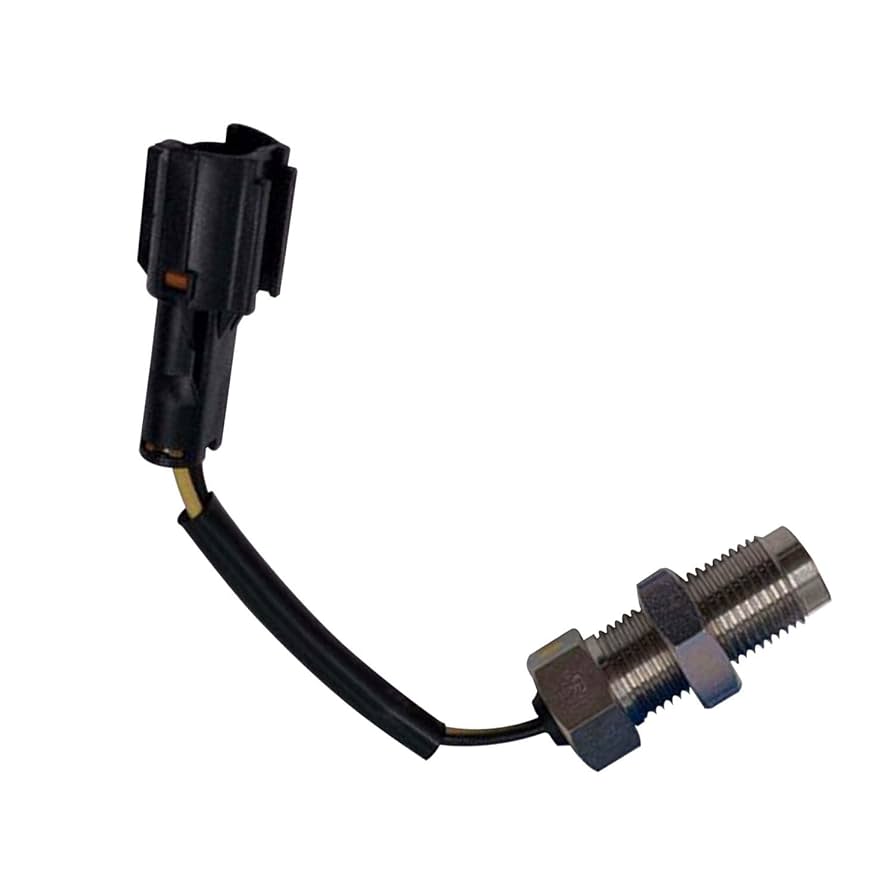
A hydraulic solenoid valve is an electro-hydraulic switching device that controls the flow of oil through a specific circuit on the machine. It receives an electrical signal from the machine's control system and converts that signal into a mechanical action, opening, closing, or redirecting hydraulic flow through the valve body.
On a modern excavator, solenoid valves are present across multiple circuits:
- Travel circuit — controlling forward, reverse, and speed selection
- Swing circuit — controlling rotation speed and direction
- Attachment circuits — controlling boom, arm, bucket, and auxiliary functions
- Pilot circuit — controlling the low-pressure pilot signals that operate the main control valves
Two types are most commonly found on excavators:
A directional solenoid valve switches between two states,s fully open or fully closed, based on an on/off electrical signal. It controls which direction oil flows through a circuit.
A proportional solenoid valve modulates flow continuously in response to a variable electrical signal controlling speed and force rather than just direction. Proportional valves are more complex, more sensitive to contamination, and more expensive to replace.
Five Signs Your Solenoid Valve Is Failing
These are the symptoms to act on. None of them is definitive on its own, but any combination of two or more points strongly suggests a solenoid valve fault.
- One function is slow or unresponsive while all others operate normally. This is the most reliable indicator. A solenoid valve fault is circuit-specific. It affects the function it serves without degrading system-wide performance. If everything is slow, the pump is the more likely culprit.
- The affected function works intermittently. The circuit operates normally sometimes, fails at others, and the pattern has no obvious relationship to load or temperature. Intermittent electrical faults, a loose coil connection, or a damaged lead produce exactly this behaviour.
- The machine displays a relevant fault code. Modern excavators log solenoid valve faults in the control system. A code referencing a specific circuit's solenoid is strong confirmation. Pull fault codes from the control unit before doing anything else; it removes guesswork from the diagnosis.
- The coil is physically hot to the touch during operation. A solenoid coil running significantly hotter than normal indicates increased electrical resistance caused by internal coil damage or an incorrect voltage supply to the coil.
- The function is stuck on or stuck off regardless of operator input. A mechanically stuck valve spool, often caused by contamination, will hold a function open or closed with no response to controls. This can look like an electrical fault, but it is actually a mechanical one, and the distinction matters for what you order.
How to Test a Solenoid Coil with a Multimeter
Before ordering any replacement parts, test the coil. This takes less than five minutes and confirms whether the fault is an electrical coil failure, a mechanical valve body, or a spool.
Step 1 — Disconnect the coil from the machine's electrical circuit. Do not test with the circuit live.
Step 2 — Set your multimeter to resistance (ohms) mode.
Step 3 — Place the probes on the two coil terminals and read the resistance value.
Step 4 — Compare the reading to the coil's specification:
- A reading of zero ohms indicates a short circuit; the coil winding has failed internally
- A reading of infinite ohms (OL) indicates an open circuit; the coil winding is broken
- A reading within the manufacturer's specified range, typically 10 to 30 ohms for most 12V and 24V excavator solenoid coils,s indicates the coil is electrically sound.
If the coil tests within specification but the fault persists, the issue is in the valve body, a stuck spool, contamination, or a worn valve seat,t and the full valve assembly needs inspection.
Coil Replacement vs Full Valve Assembly: How to Decide
Replace the coil only when:
- The coil tests outside the specification on the multimeter
- The valve body passes visual inspection, no contamination scoring, spool moves freely when manually actuated
- The fault is confirmed as electrical rather than mechanical
Replace the full valve assembly when:
- The spool is stuck and does not move when the coil is removed, and the spool is manually tested
- Contamination scoring is visible on the valve bore or spool surface
- The valve has failed previously,y and the body has already been in service for a high number of hours
- A proportional valve is showing erratic modulation — the precision of the valve bore on a proportional unit is difficult to restore once worn out.
Replacing only the coil on a contaminated valve body will produce a repeat fault. If the valve body is compromised, replace the assembly.
Confirming the Correct Replacement Specification
Solenoid valves are not universal. The correct replacement must match the original on three specifications. Get any one of these wrong, and the replacement either will not fit or will not function correctly.
Voltage rating. Excavator solenoid valves are either 12V or 24V. Fitting a 12V coil to a 24V circuit burns out the coil immediately. Check the machine's electrical system voltage and confirm the coil's voltage rating before ordering.
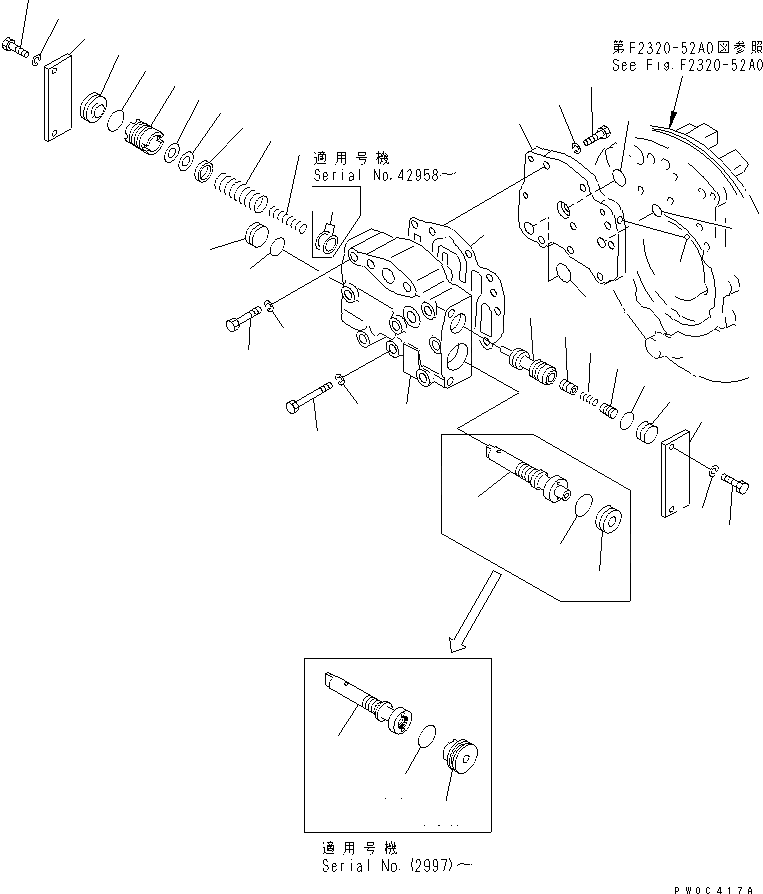
Thread and port specification. The valve body must match the original port size, thread standard, and body configuration. On Bosch Rexroth solenoid valves and other OEM-specification units, the body configuration is defined by the part number stamped on the original valve.
Flow and pressure rating. The valve must be rated for the operating pressure of the circuit it serves. Under-rated valves leak internally under high-pressure conditions.
Confirm all three against your machine's serial number before placing an order. A supplier who works from serial numbers, not just model designations, removes the fitment risk from the transaction.
Conclusion
A failing hydraulic solenoid valve is a diagnosable, solvable fault provided the diagnosis is done correctly before anything is ordered.
Test the coil first. Inspect the valve body. Confirm the fault is electrical or mechanical before deciding between coil replacement and full assembly replacement. Confirm voltage, port specification, and pressure rating before placing the order.
That sequence is what gets the machine back into service efficiently without repeated faults and without wasted parts.
At Imara Engineering Supplies, we stock OEM-compliant hydraulic solenoid valves and coils for Komatsu, Caterpillar, Hitachi, Volvo, and Doosan excavators, including Bosch Rexroth compatible units across 12V and 24V specifications. Our technical team can confirm the correct replacement using your machine's serial number and fault description.
Contact our team with your machine details, or visit our excavator solenoid valves and hydraulic control components page to find the right part.


